Fine-Tuning Template
Reinforcement Fine-Tuning (RFT) is a post-training technique that leverages reinforcement learning to align large language models with human preferences, enhancing their performance on complex, open-ended tasks.
Our reinforcement fine-tuning function on HPC-AI.COM consists of 7 simple steps that guide you from model selection to deployment. This comprehensive workflow ensures a smooth experience for fine-tuning your models with state-of-the-art reinforcement learning algorithms.
Step 1: Go to Fine-Tuning Page
- Log in to HPC-AI.COM.
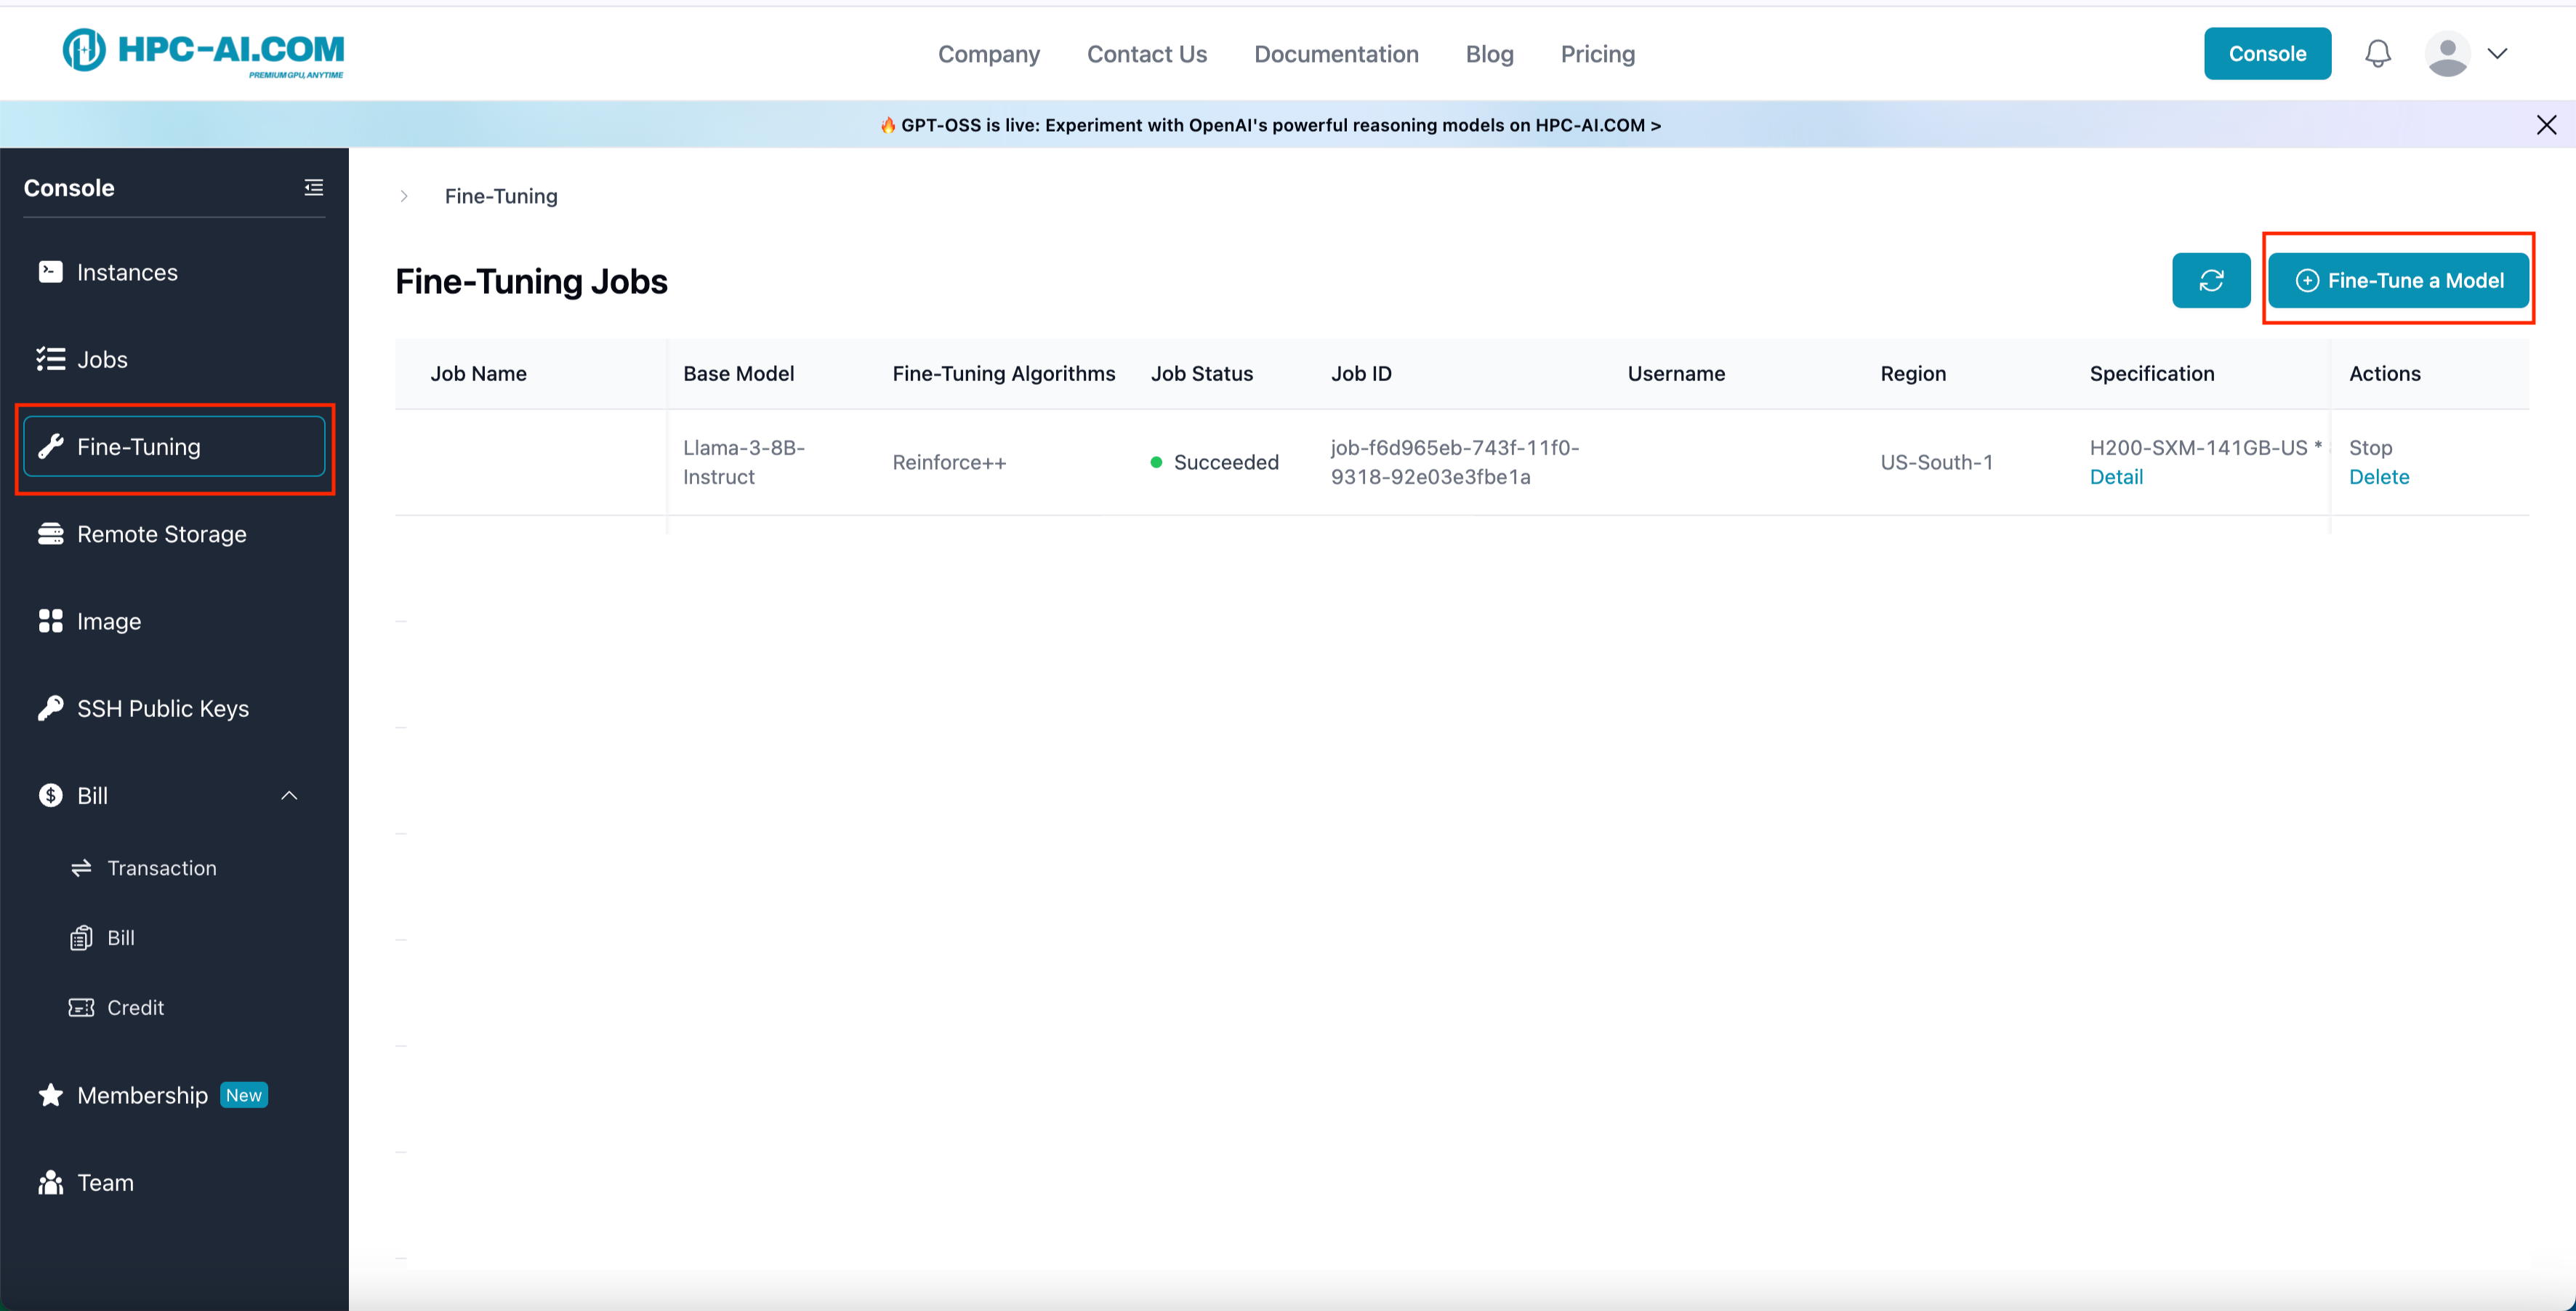
- From the left sidebar, click Fine-Tuning, then select Fine-Tune a Model.
Step 2: Select Model Template
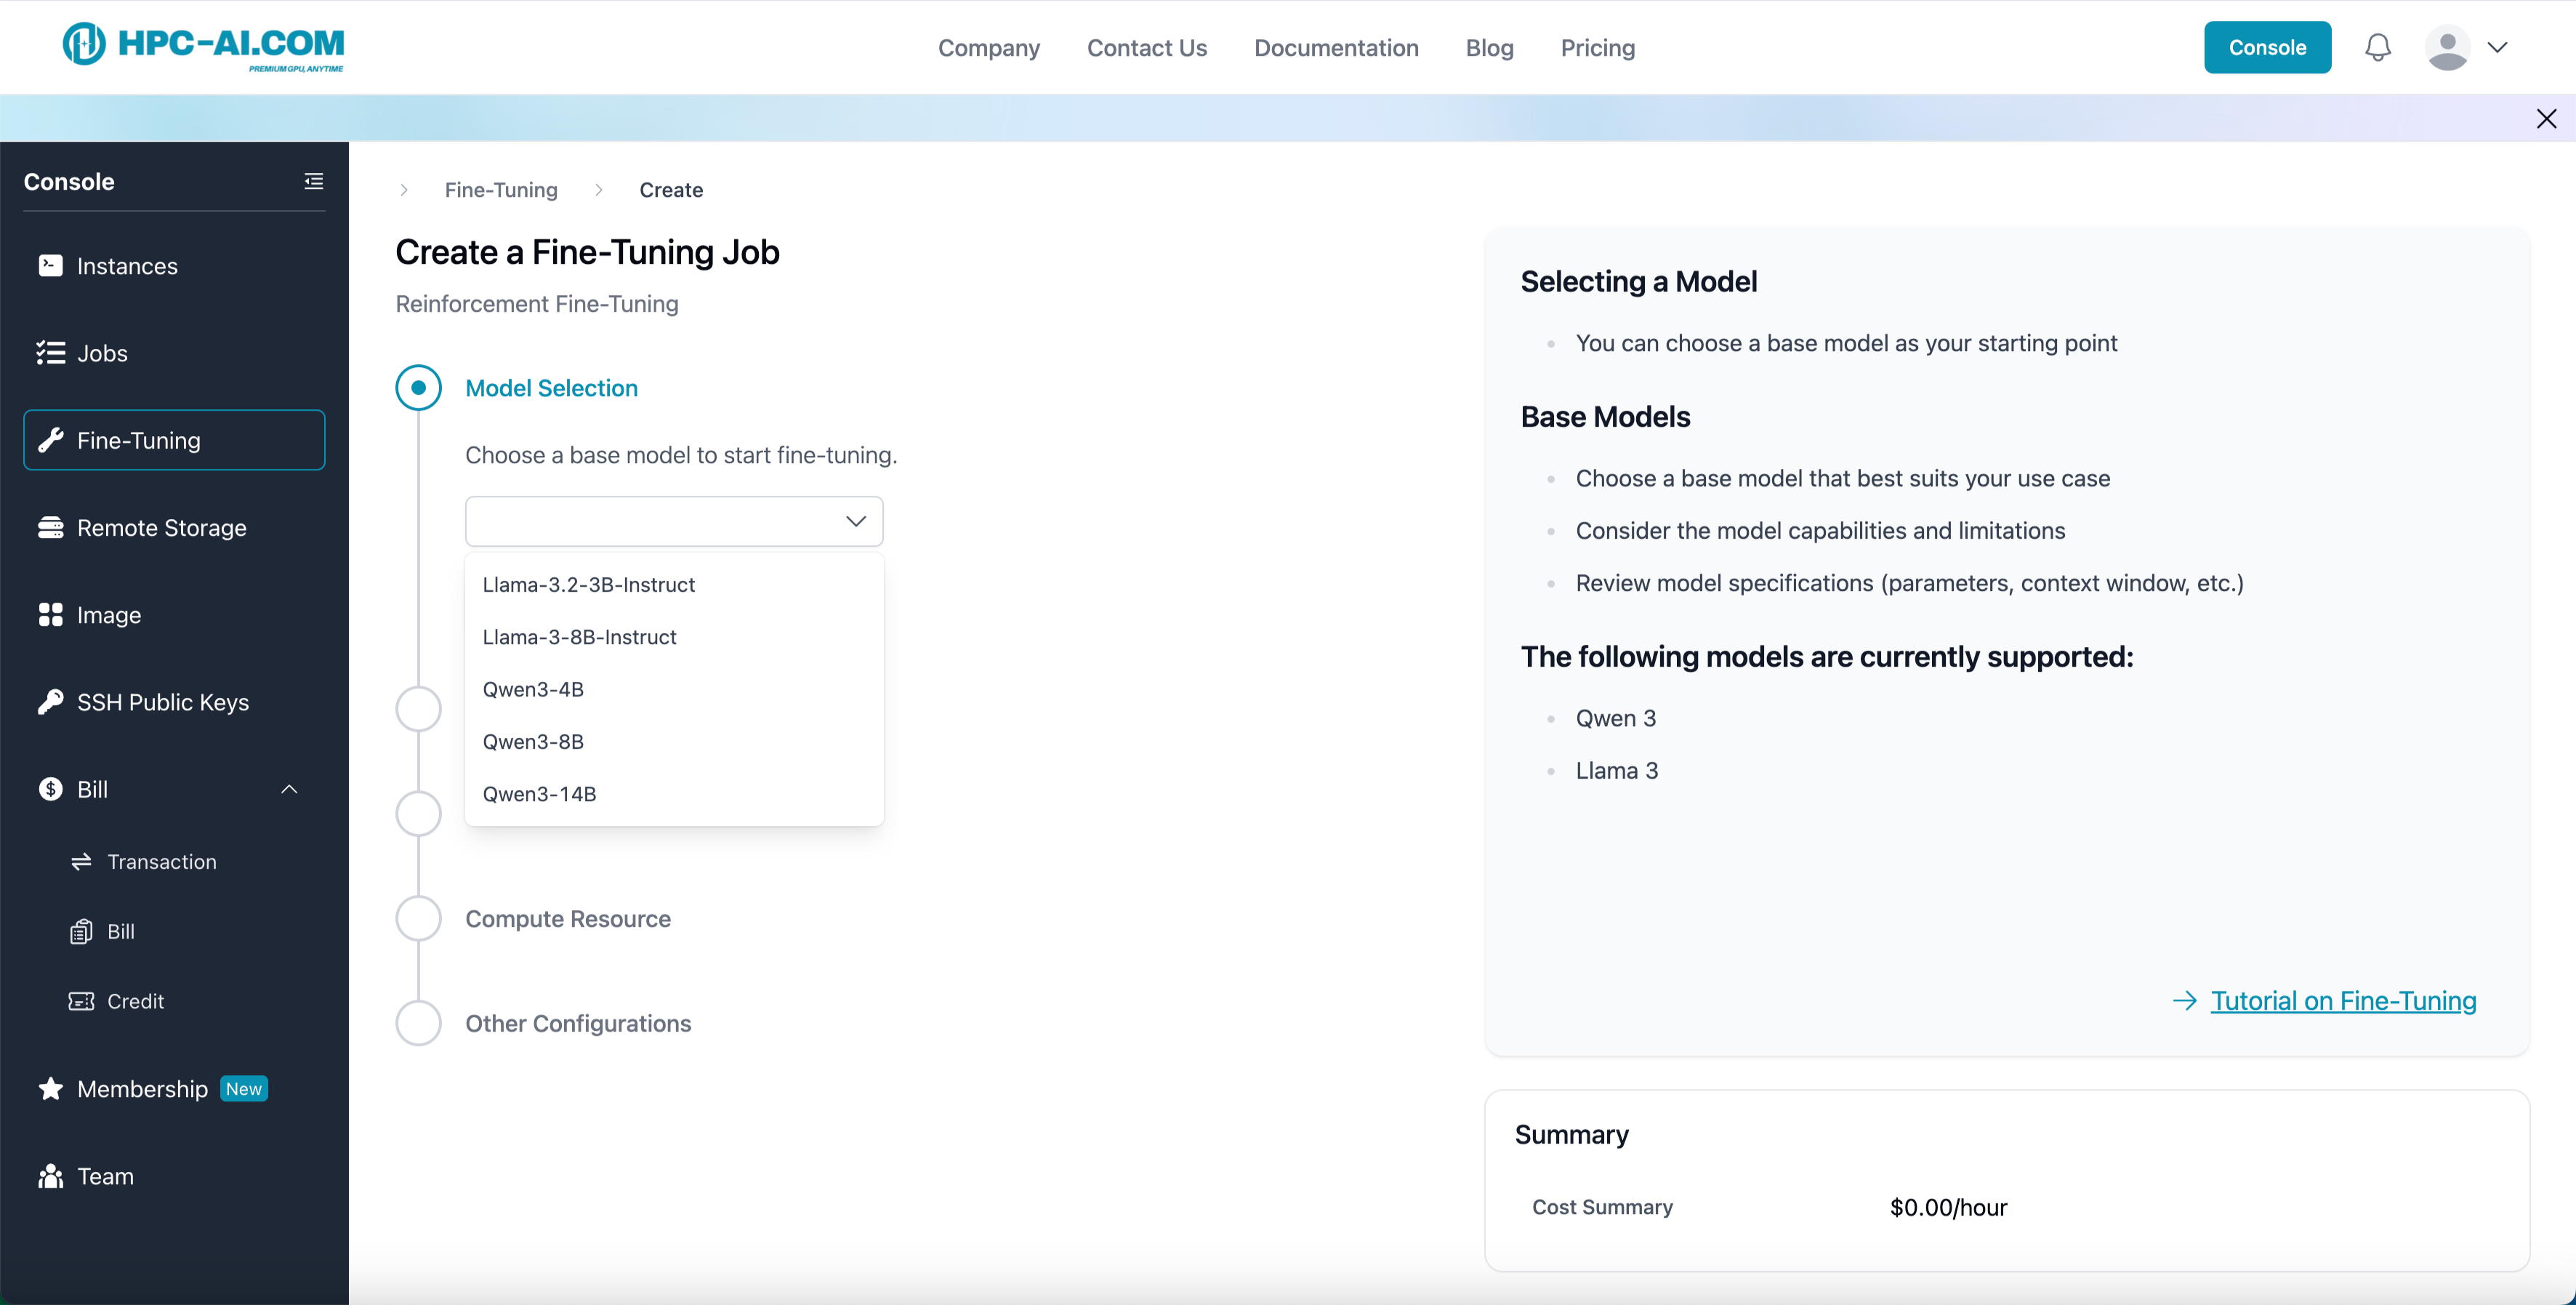
Choose from the built-in model templates. Currently supported:
- Qwen 3 - 4B
- Qwen 3 - 8B
- Qwen 3 - 14B
- LLaMA 3.2 - 3B - Instruct
- LLaMA 3 - 8B - Instruct
Step 3: Select Reinforcement Algorithms
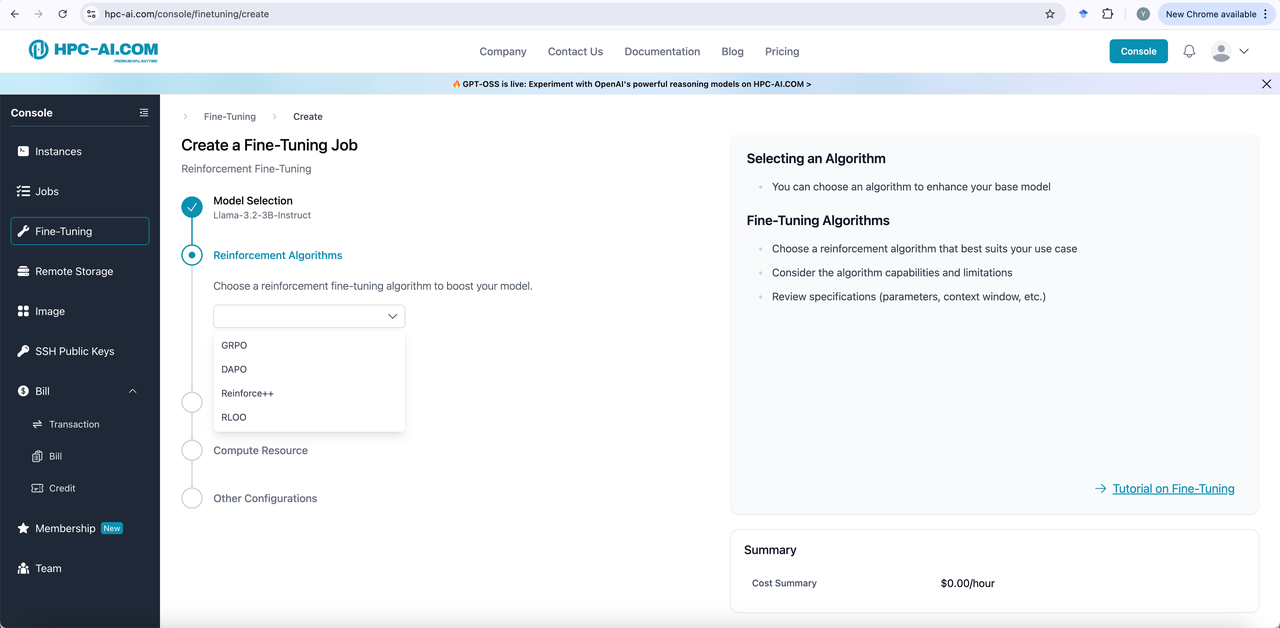
All model templates can select one algorithm from GRPO, DAPO, Reinforce++(baseline) and RLOO for reinforcement fine-tuning.
For inquiries about additional templates, please reach out to us at service@hpc-ai.com.
Step 4: Upload Training Data
We provide two convenient methods for uploading your training data:
- Method 1: Load from Storage (Recommended). If your training data is already stored in cloud storage, you can directly select and import files from your cloud drive without the need for re-uploading.
- Method 2: Direct Data Upload. You can also upload your local training data files directly using the upload box below.
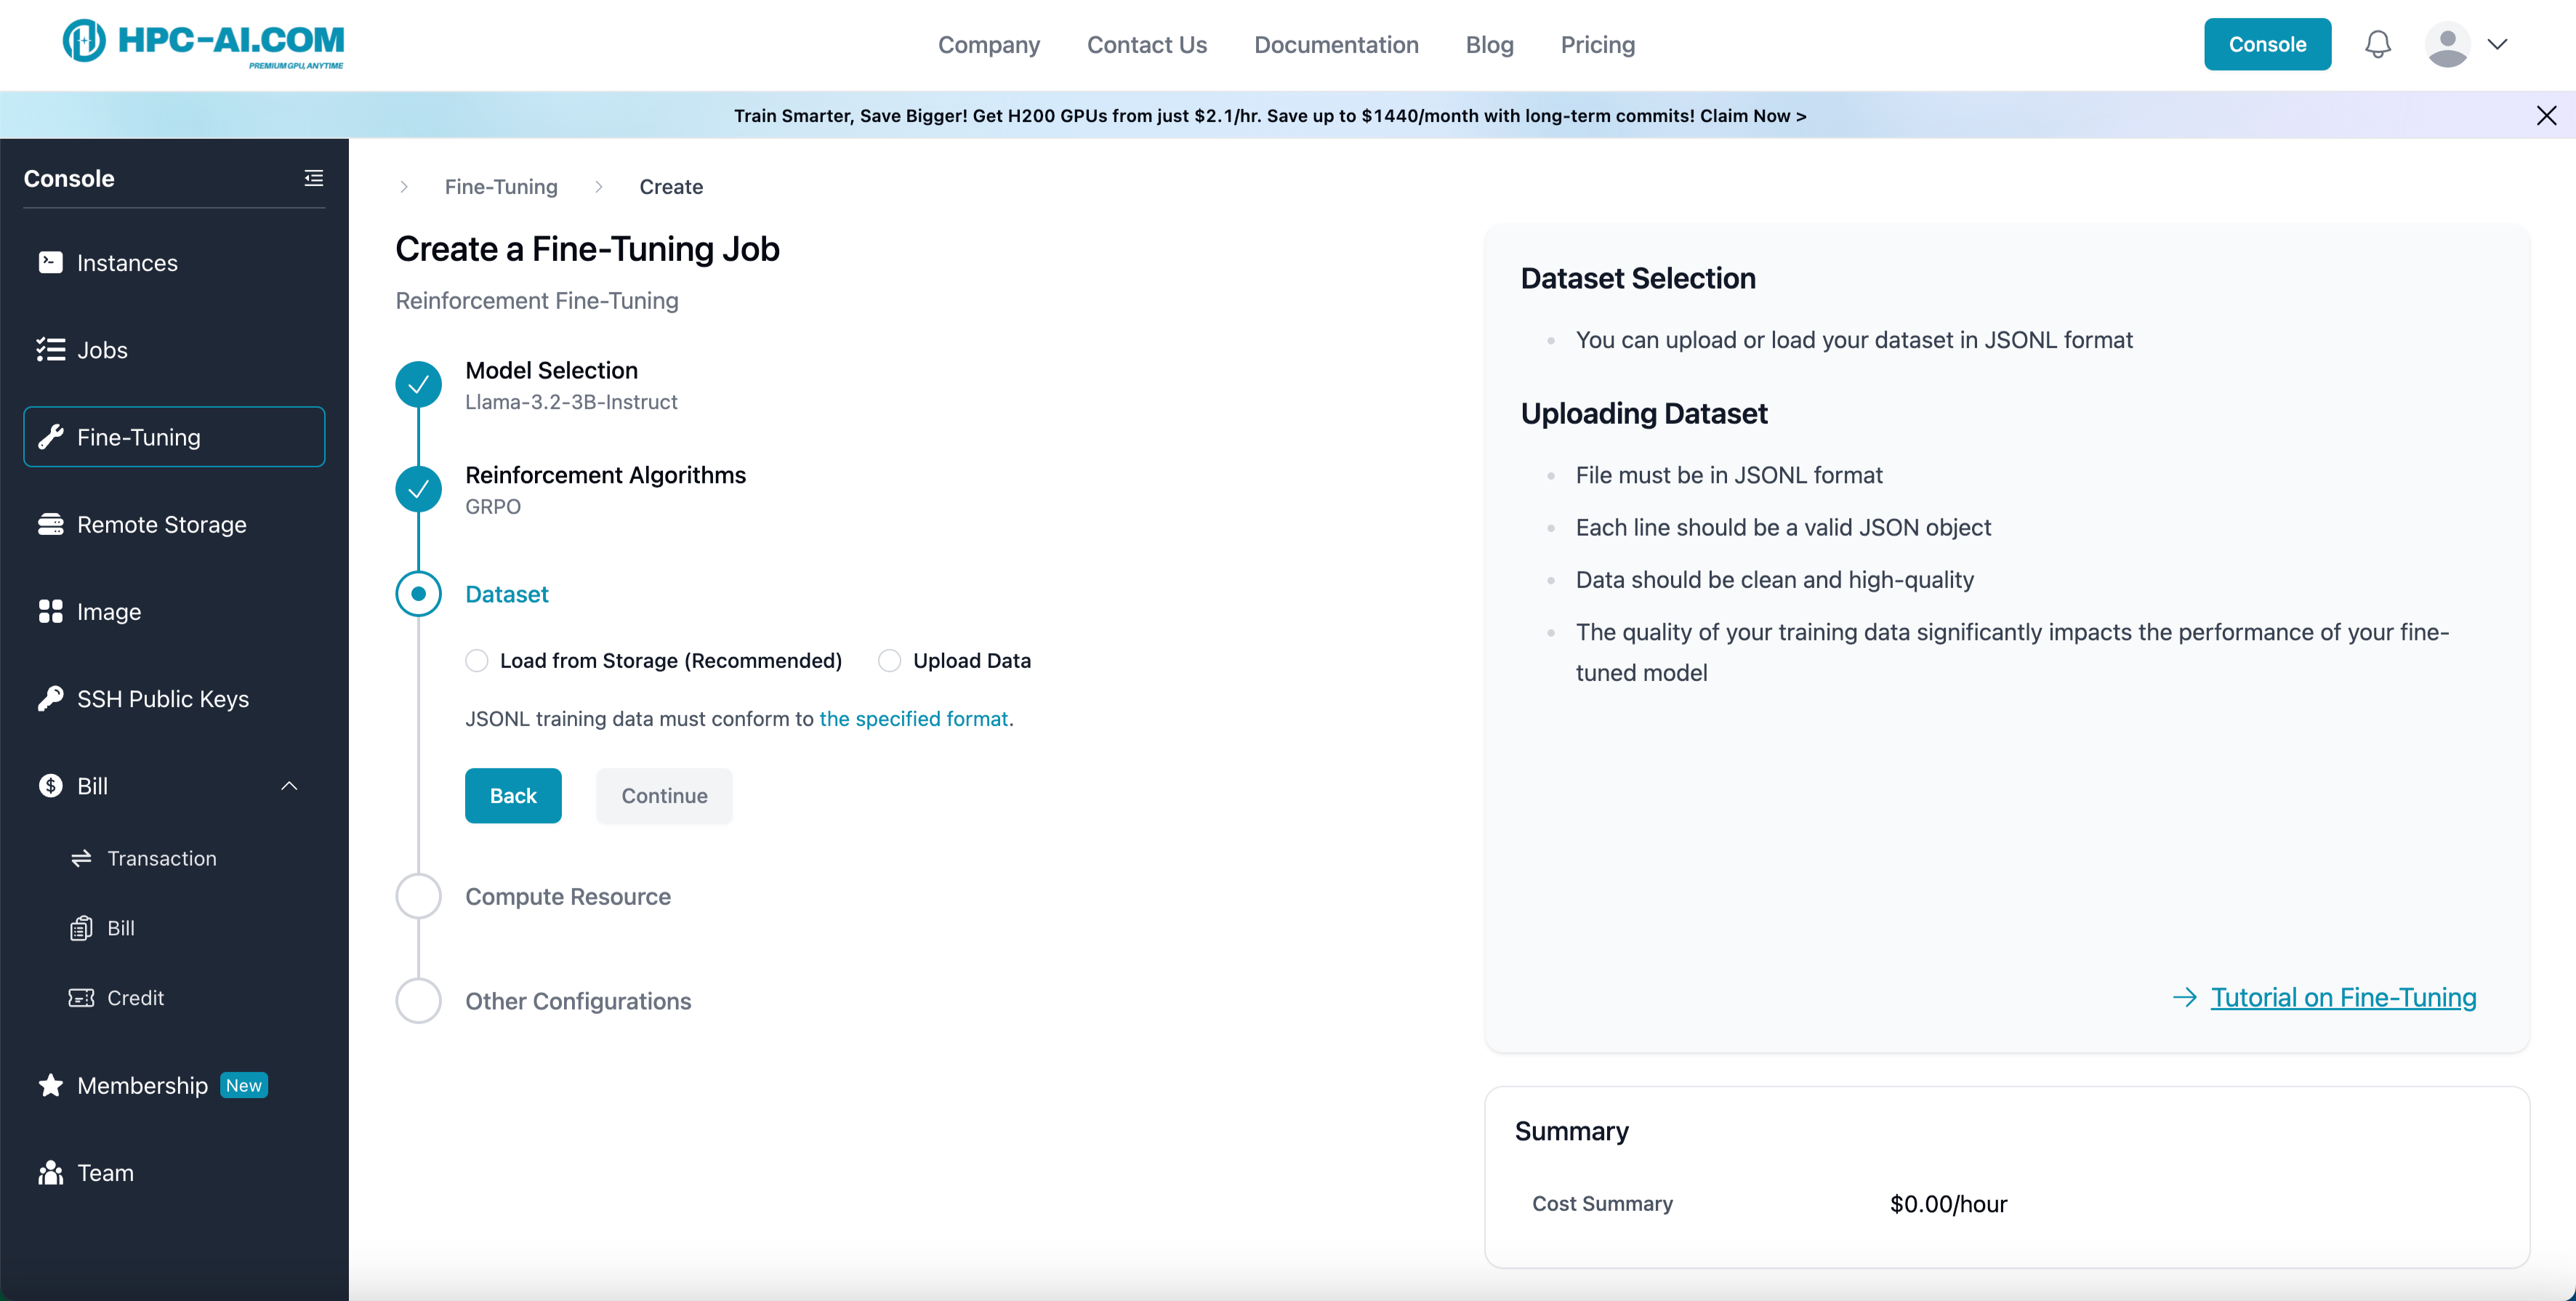
Example Format for Training Data
The following example illustrates how training data should be constructed. We accept JSONL format with each line having the following structure:
{
    "messages": {
        "role": "user",
        "content": "Let \\[f(x) = \\left\\{\n\\begin{array}{cl} ax+3, &\\text{ if }x>2, \\\\\nx-5 &\\text{ if } -2 \\le x \\le 2, \\\\\n2x-b &\\text{ if } x <-2.\n\\end{array}\n\\right.\\]Find $a+b$ if the piecewise function is continuous (which means that its graph can be drawn without lifting your pencil from the paper)."
    },
    "gt_answer": "0"
}
content: Normally math questionsgt_answer: Ground truth answers
You can also click the specified format to see the recommended format.
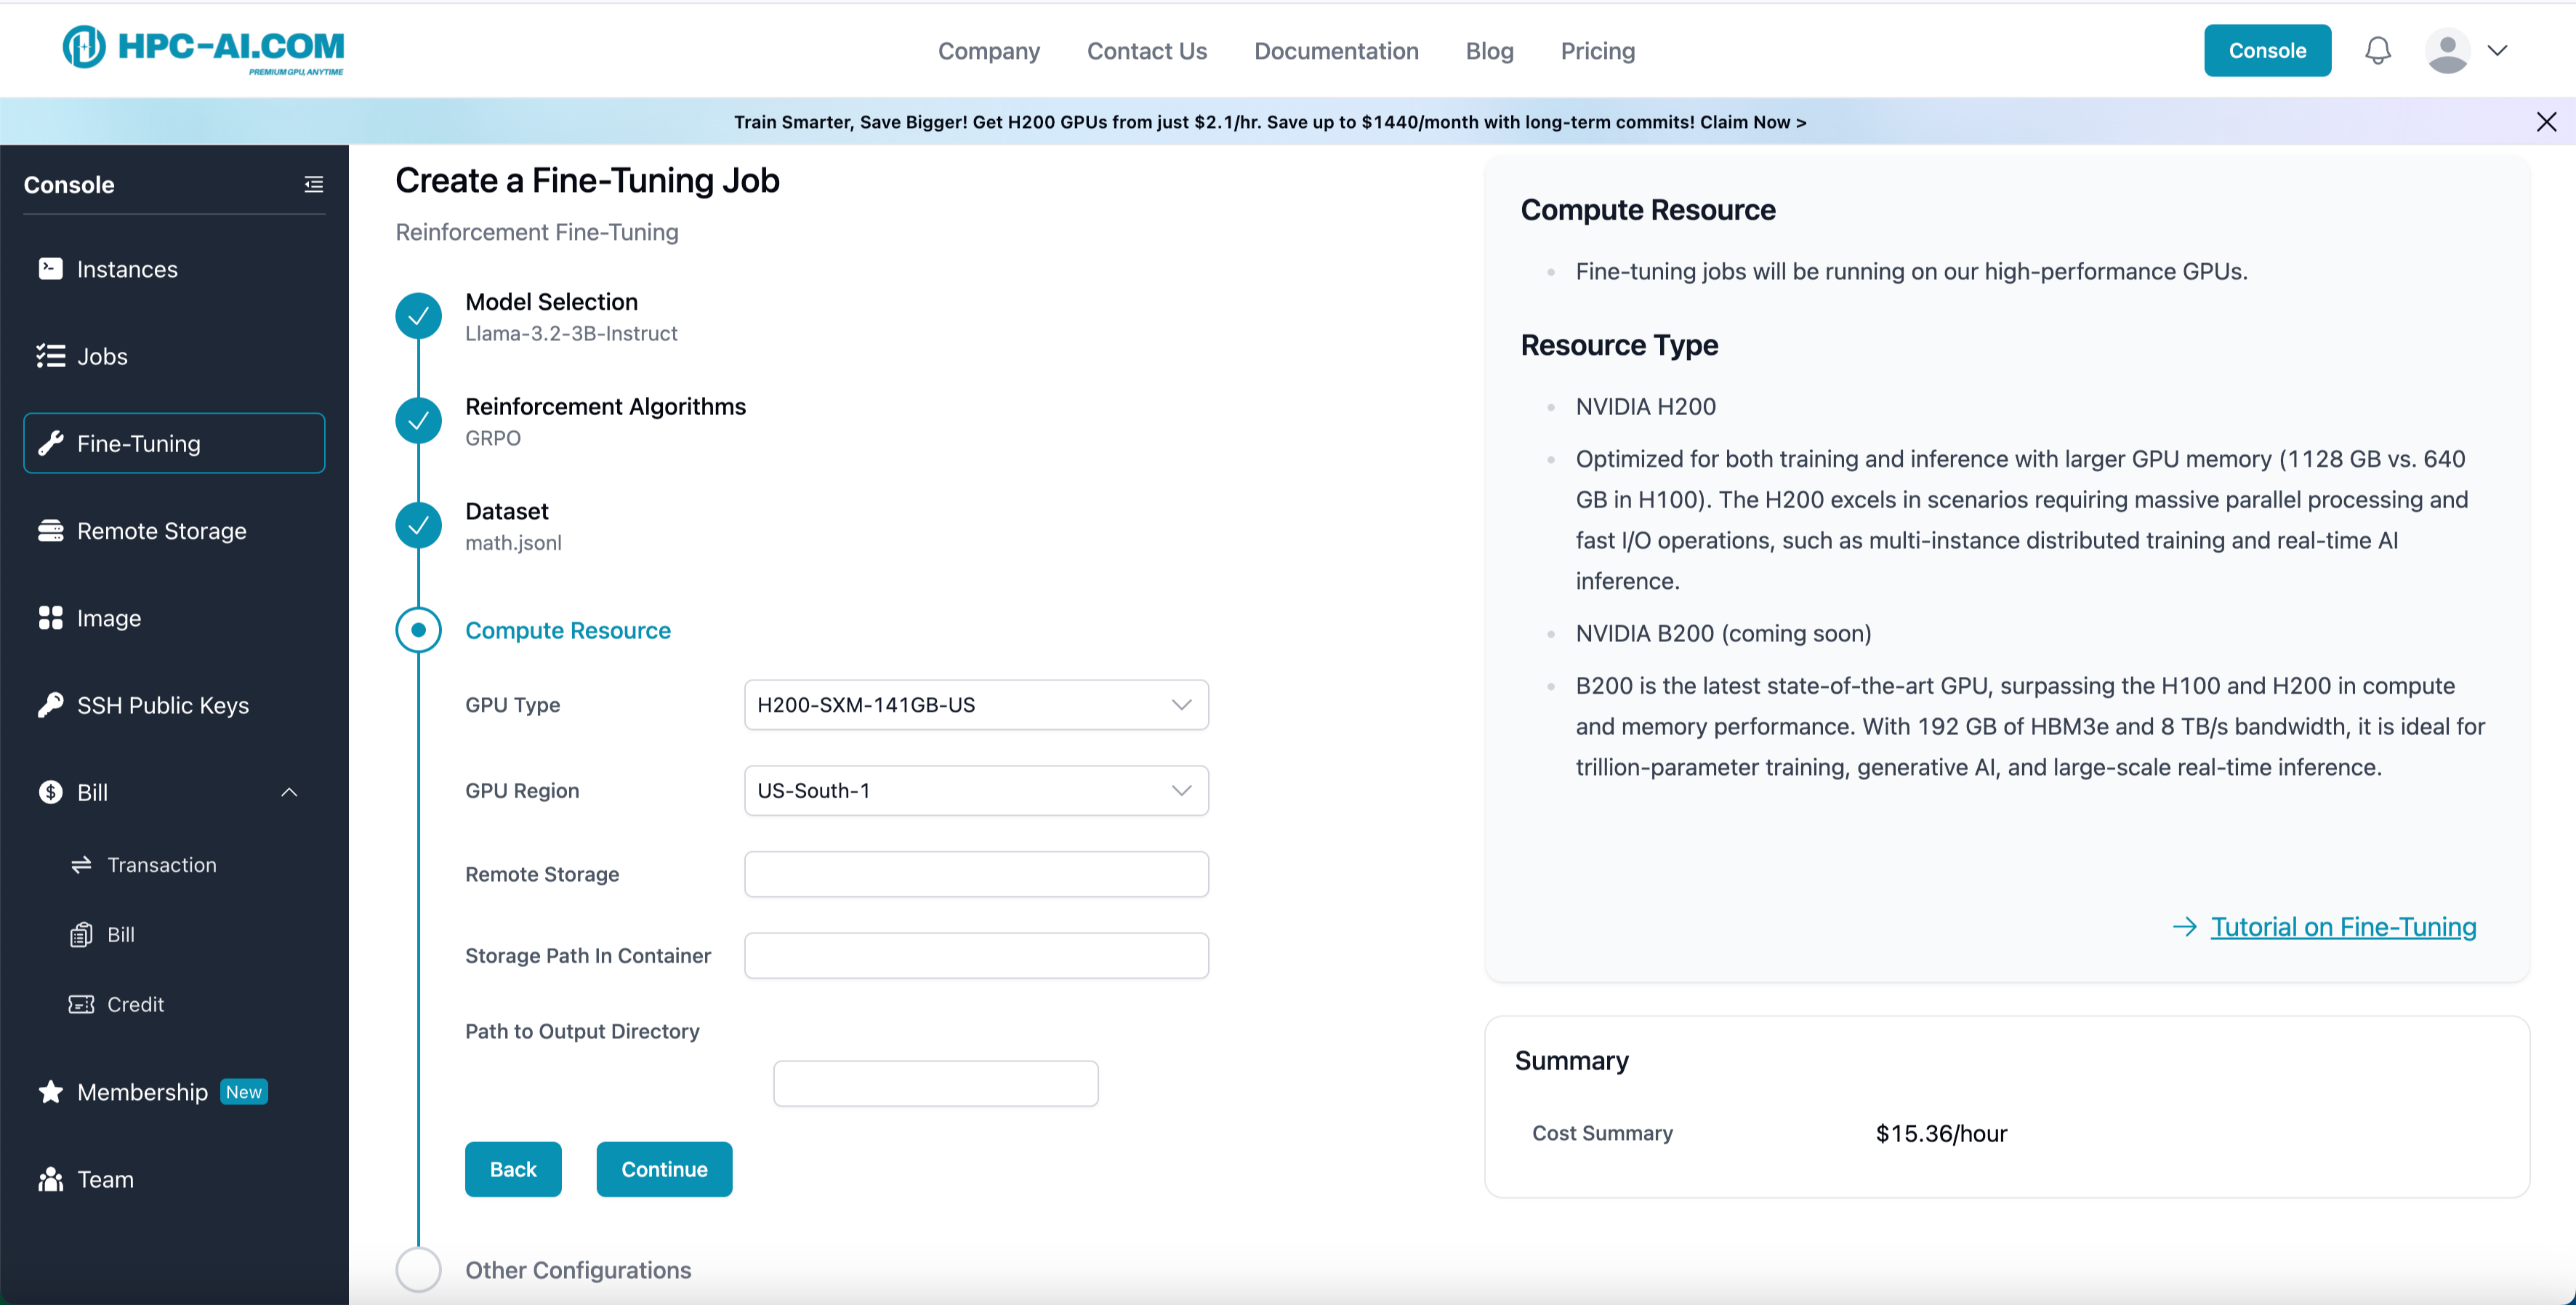
Step 5: Select Compute Resource
Fill in the required fields:
- GPU Type: Choose from H100 or H200 GPUs, with B200 coming soon.
- GPU Region: Select your preferred compute region, such as Singapore or United States.
- Remote Storage: Select a remote storage in the same region as your GPU to read/write training data and models. If no remote storage exists for that region, you will need to create one.
Step 6: Other Configurations
Fill in the required fields:
-
Job Name: Enter a name for your job.
-
Enter your Weights & Biases API key (Wandb Key) to enable tracking. (Optional but Recommended)
-
Wandb Key allows you to monitor GPU-level metrics such as:
- GPU frequency
- Utilization
- I/O performance
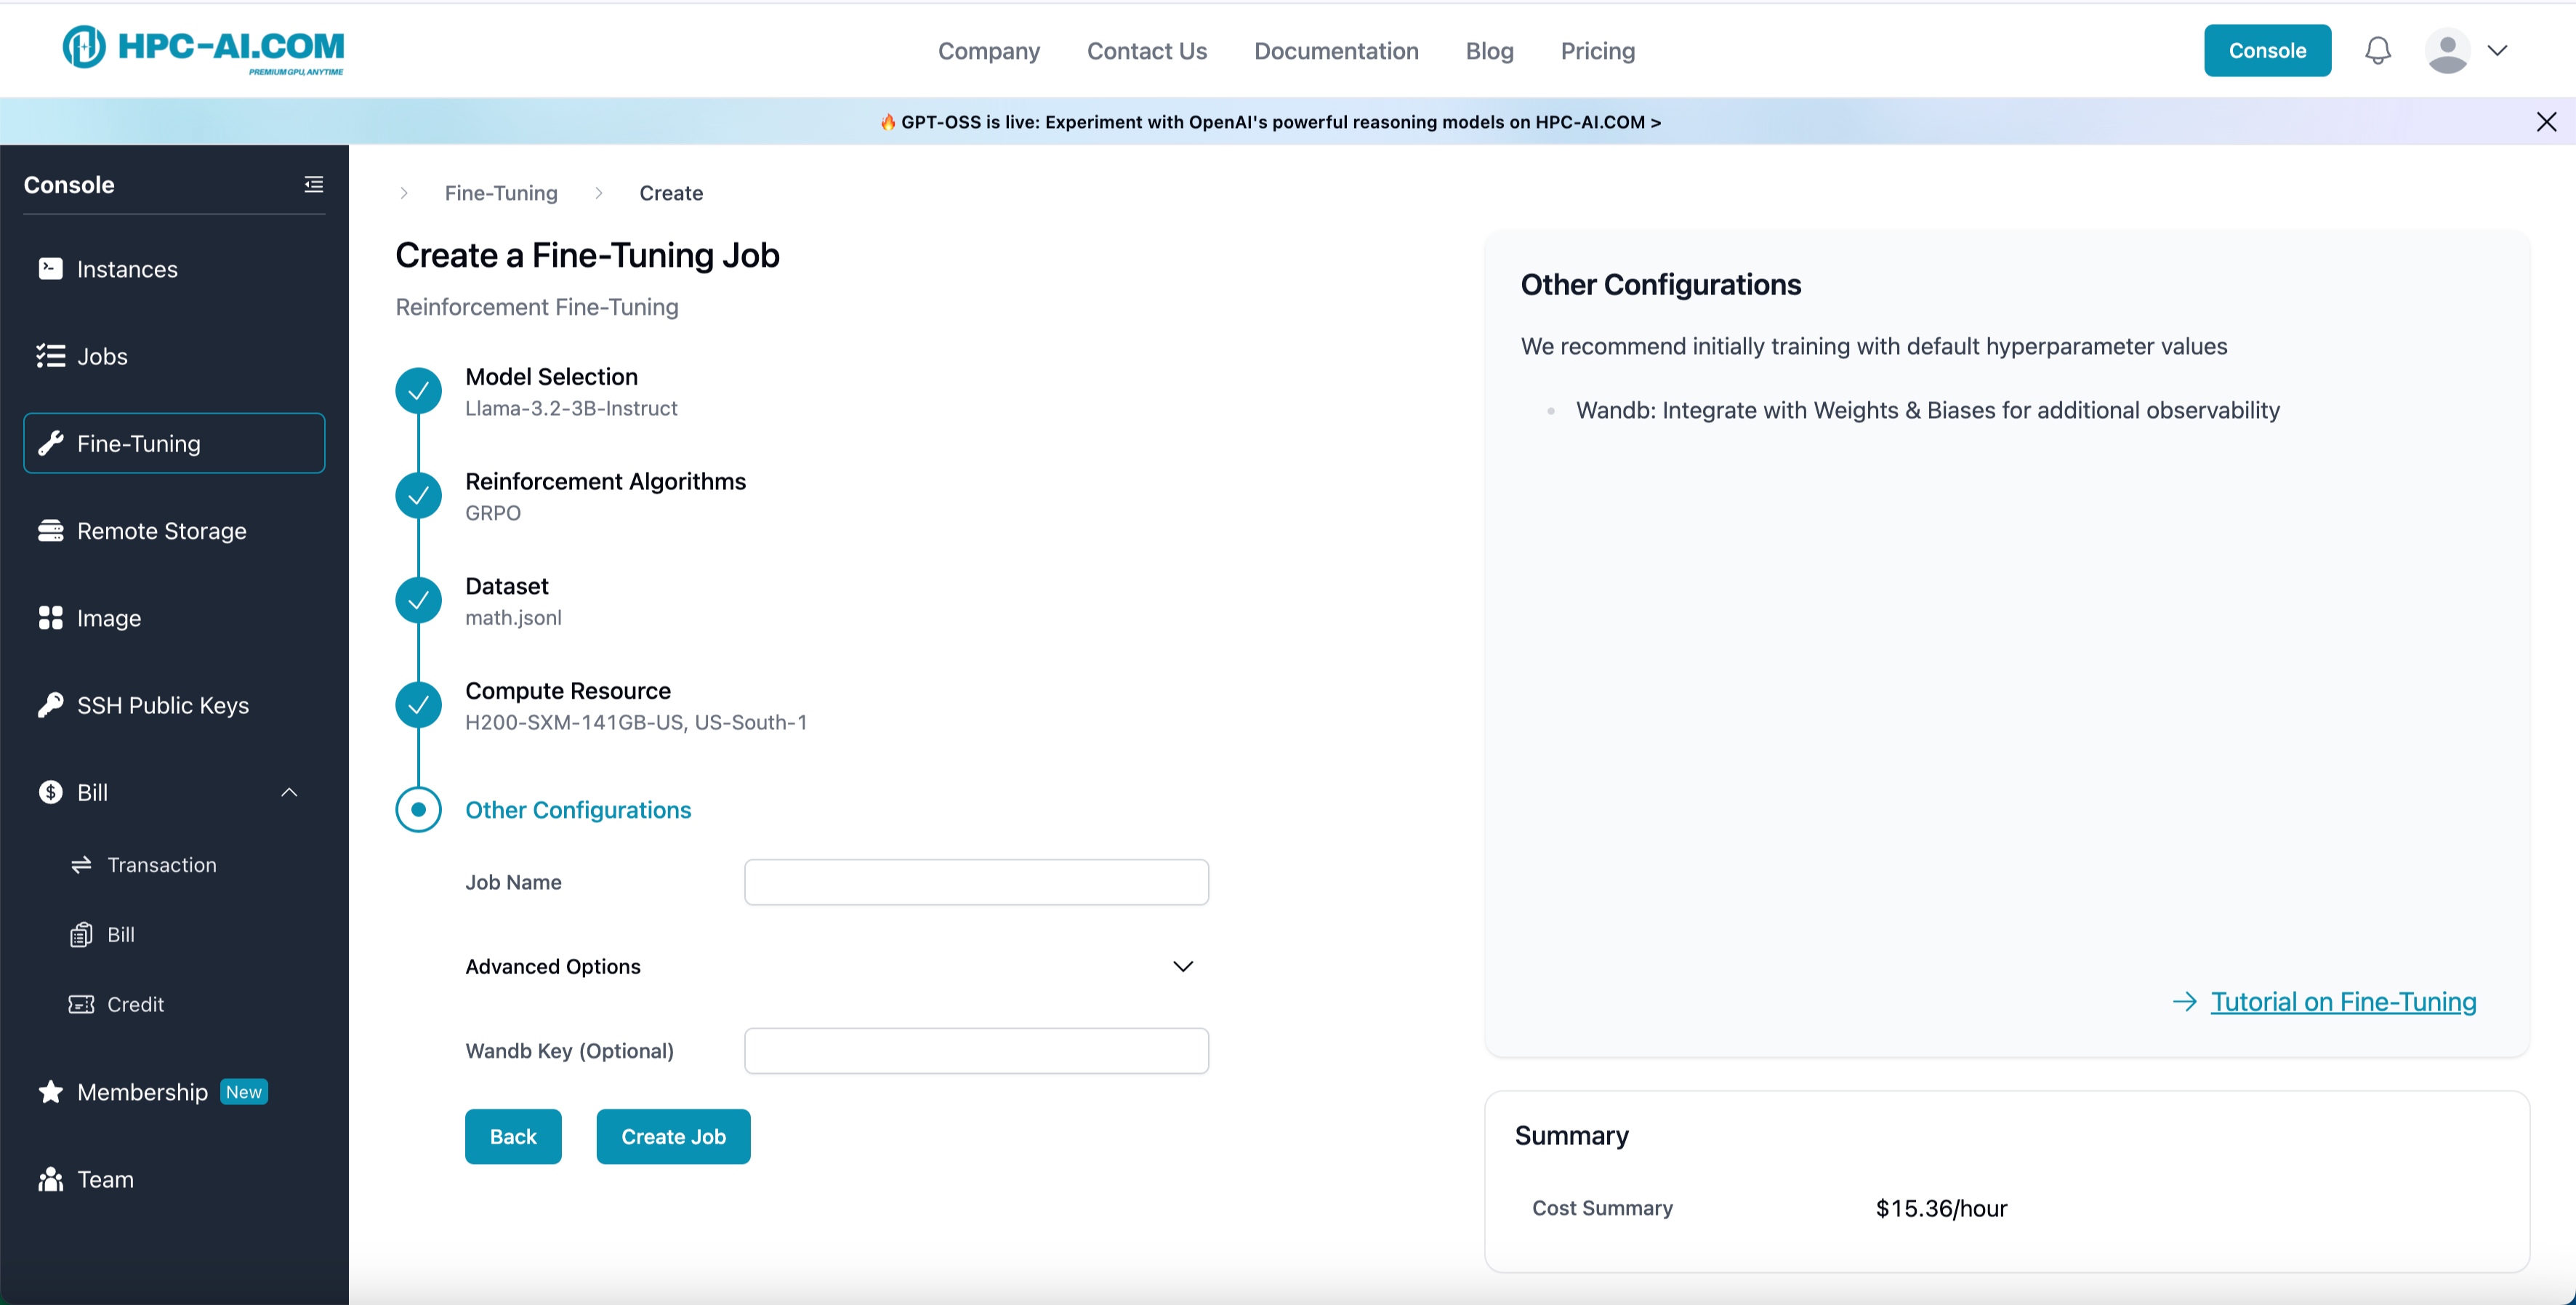
You can also click the Advanced Options button to get the hyperparameter setting and also edit it.
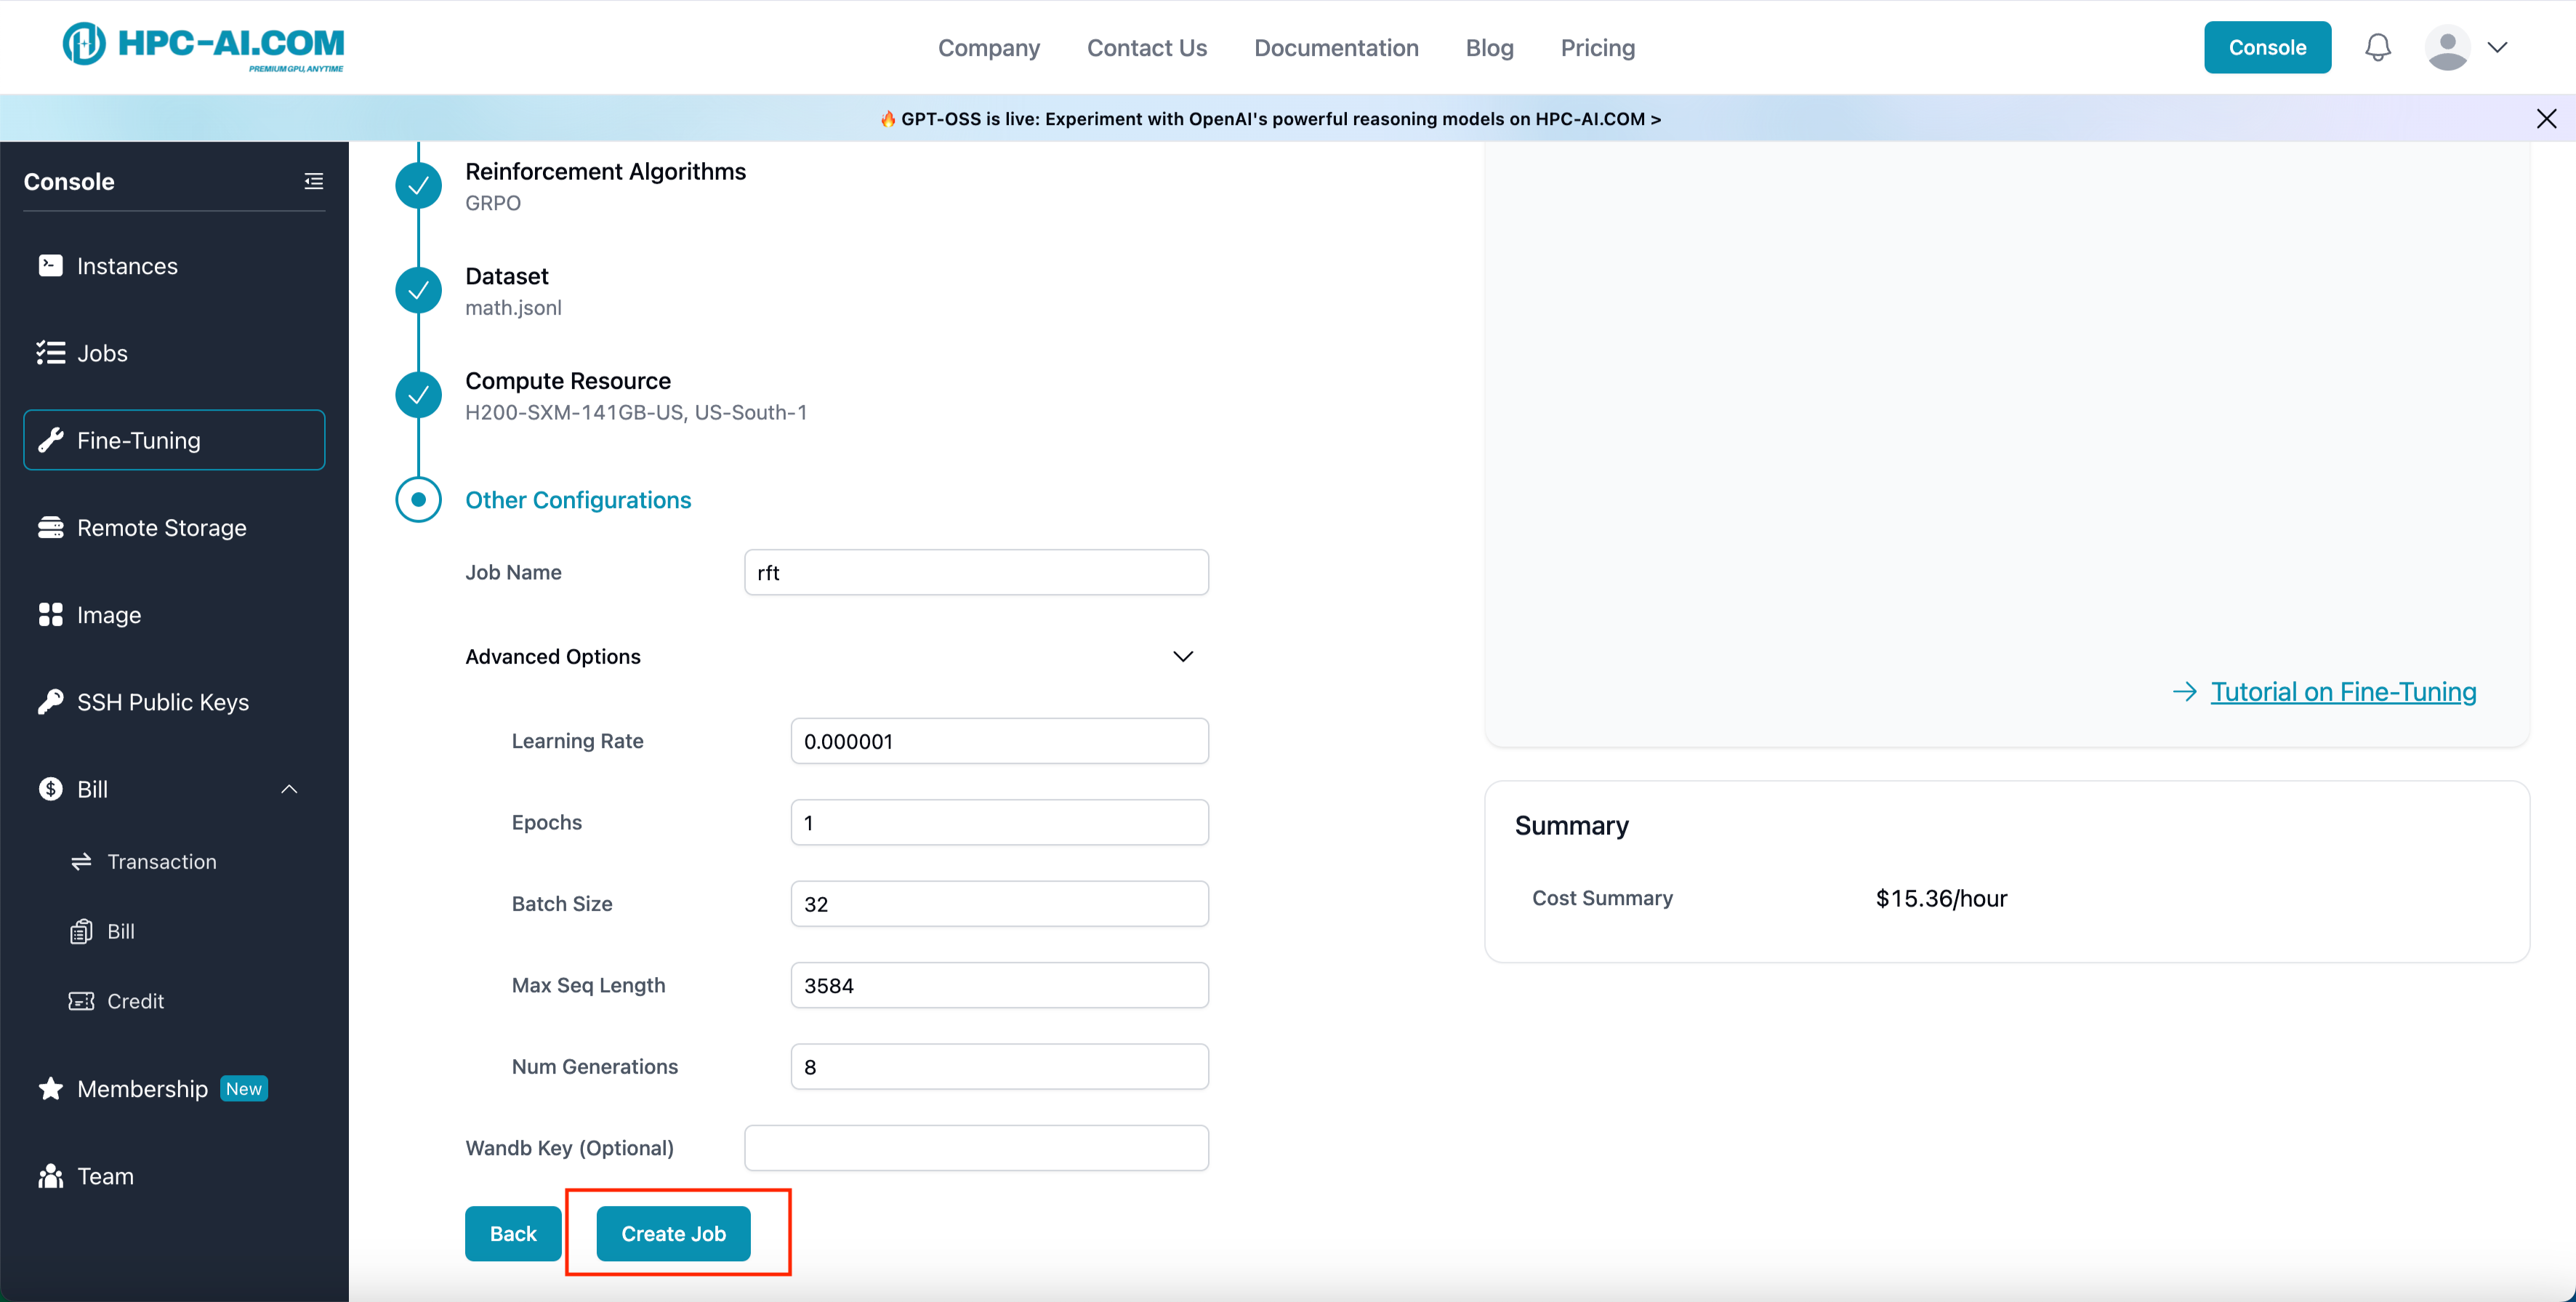
Step 7: Submit and Monitor Your Job
- Click Create Job to start the job.
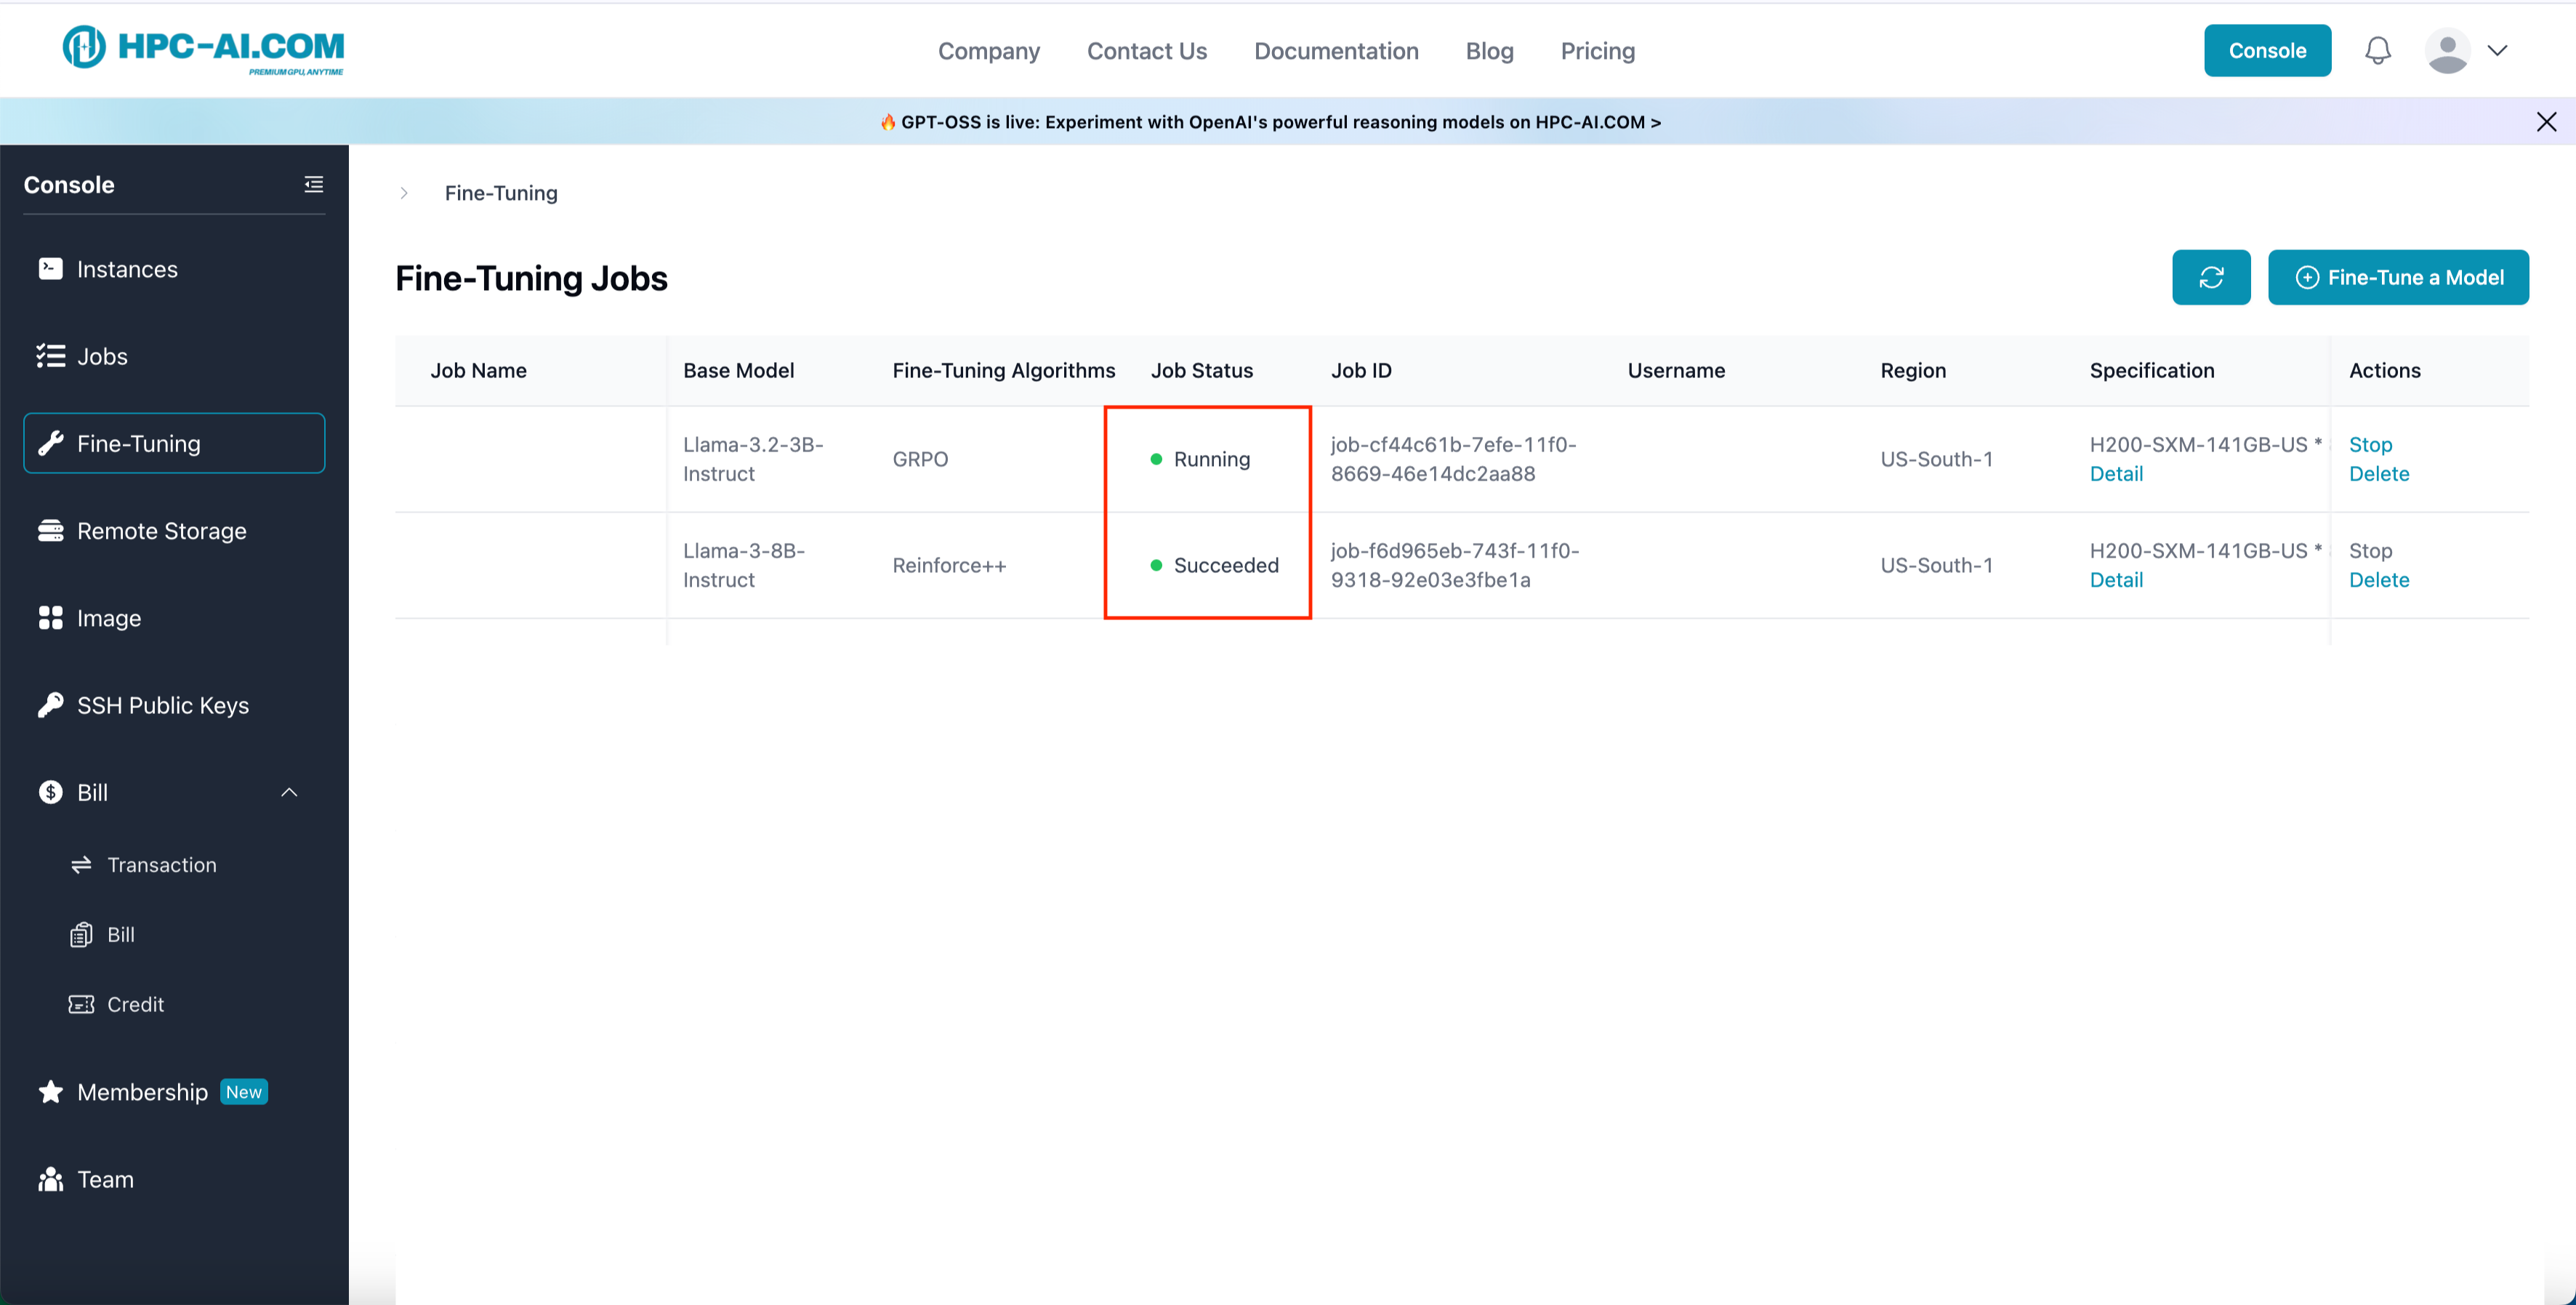
- Monitor the job status under Job Status.
- Running indicates that the RFT job is currently in progress.
- Once the status changes to Succeeded, your fine-tuned model is ready for you.
